How to Install Windows 11 on Your PC
About
Many insiders predict the event is the debut of the next generation of Windows – Windows 11, and it turns out to be true. Let’s have a quick peek at the big changes coming with Windows 11:
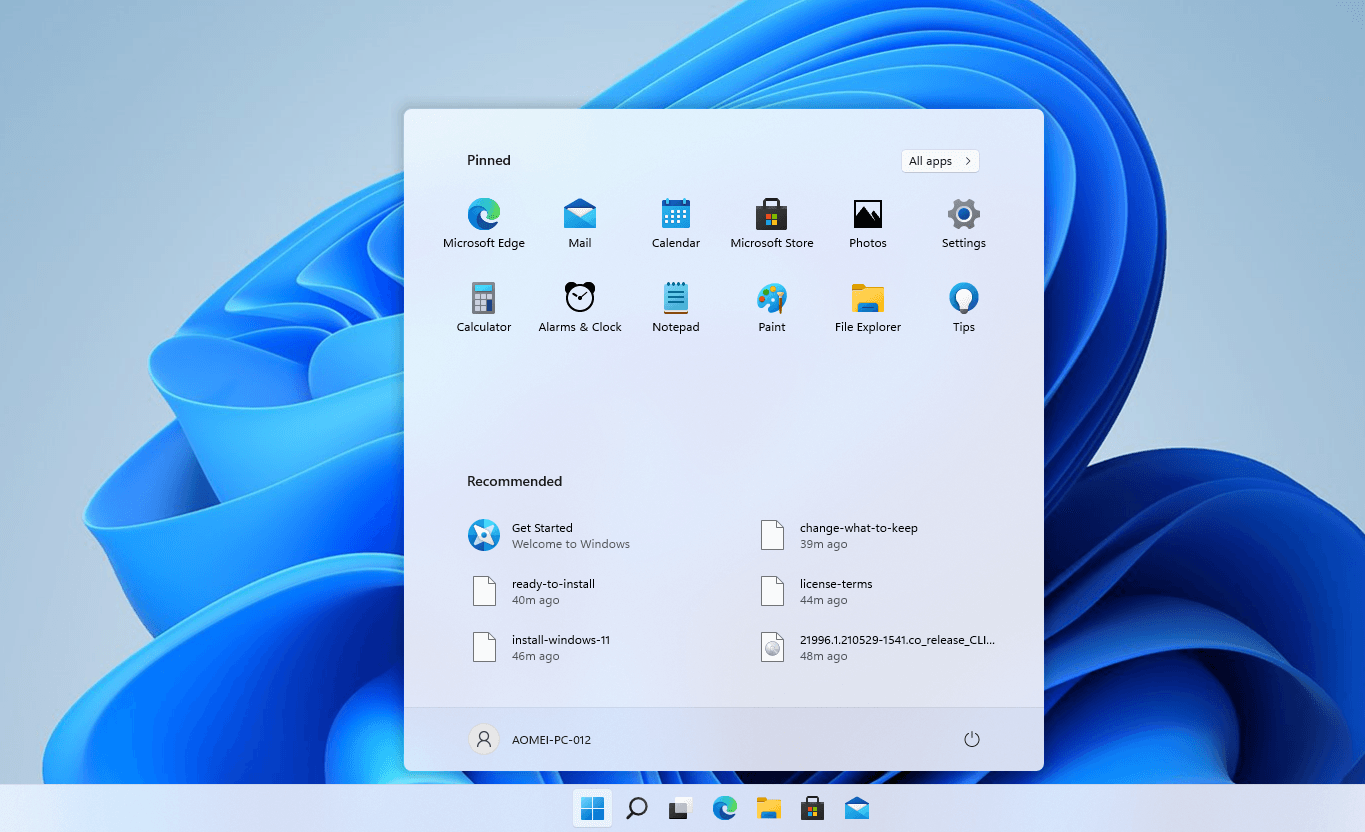
- Start menu: the new Start menu lies at the center of your taskbar. If needed, you can move them all back to the left-hand side.
- File Explorer: some folder icons are updated. Besides, if you hover your mouse over the "maximize windows" icon, you'll see an option to align your window in a variety of configurations.
- Widgets drawer: Right in the middle of the Taskbar icons is Widgets. Instead of desktop widgets, it shows nothing more than News & Interests at the moment.
For more new features of Windows 11, please visit
Windows 11 upgrade from Windows 10/8/7
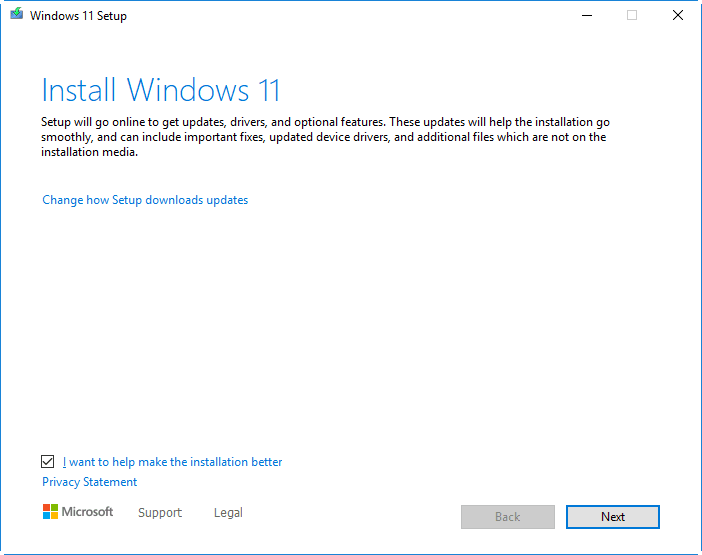
1.Download Windows 11 ISO file from the official website. Open the ISO file and launch the setup.exe file.
2. Wait for the Windows 11 Setup wizard to be loaded. At the “Install Windows 11” page, click Next.
4. At the “Ready to install” page, confirm the pending operation and click Install.
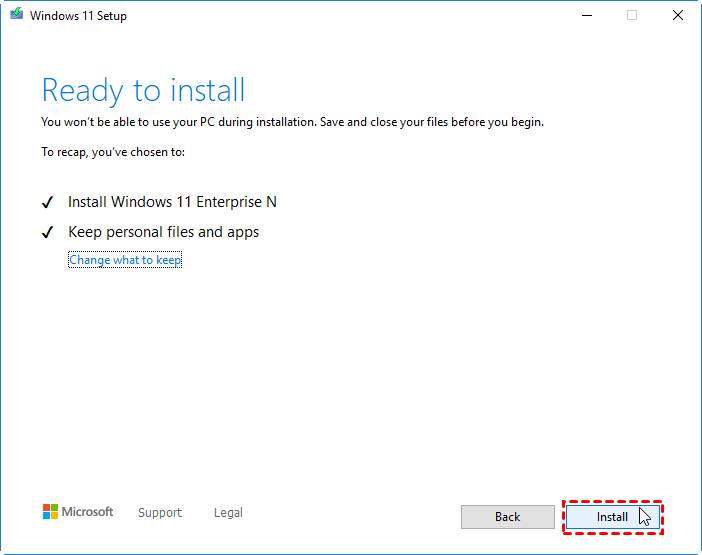
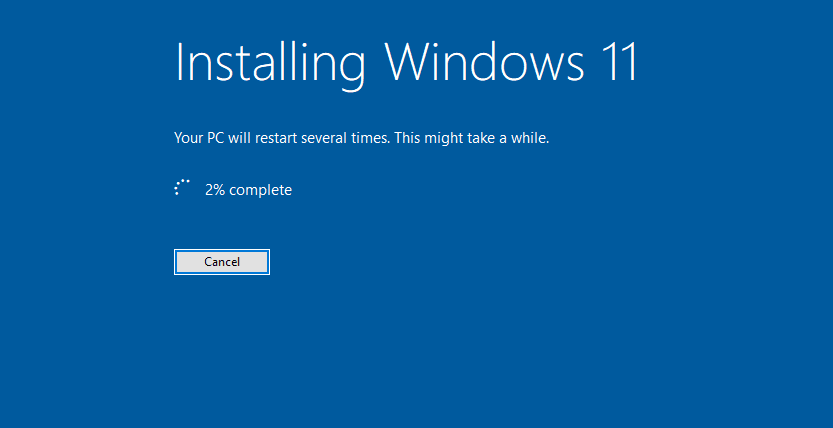
Windows 11 installation starts, and your PC will restart a few times. Make sure you don’t turn off your PC.
That’s all about Windows 11 install. Whether you want to do Windows 11 clean install or upgrade install, you can find the detailed steps from this page